✕

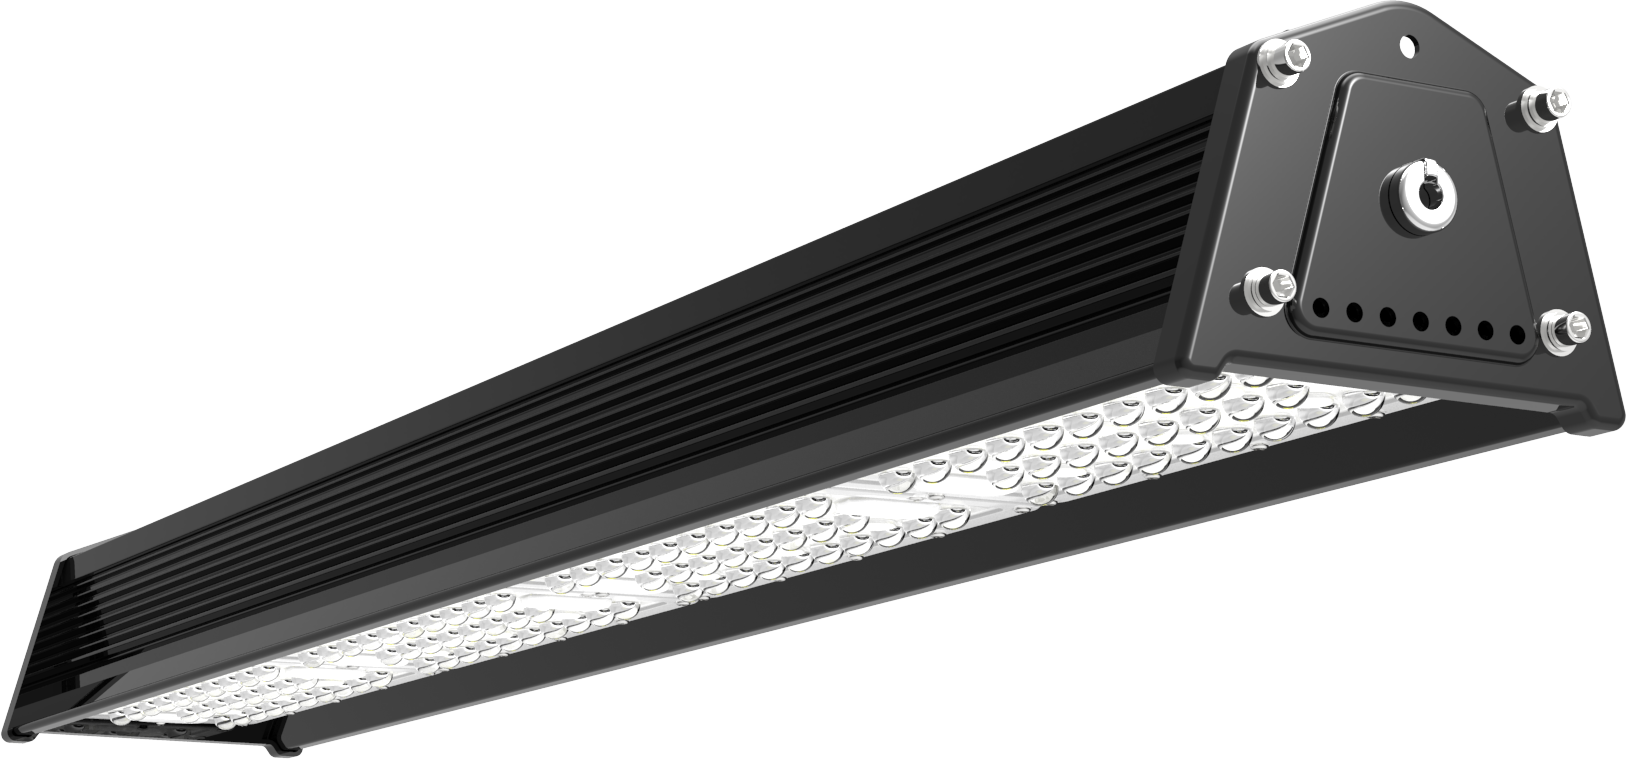

Tauro Black
High efficacy high bay 165 lm/w
With customised aisle racking optics
Overview
UP TO 40% MORE EFFICIENT THAN STANDARD LED HIGH BAYS
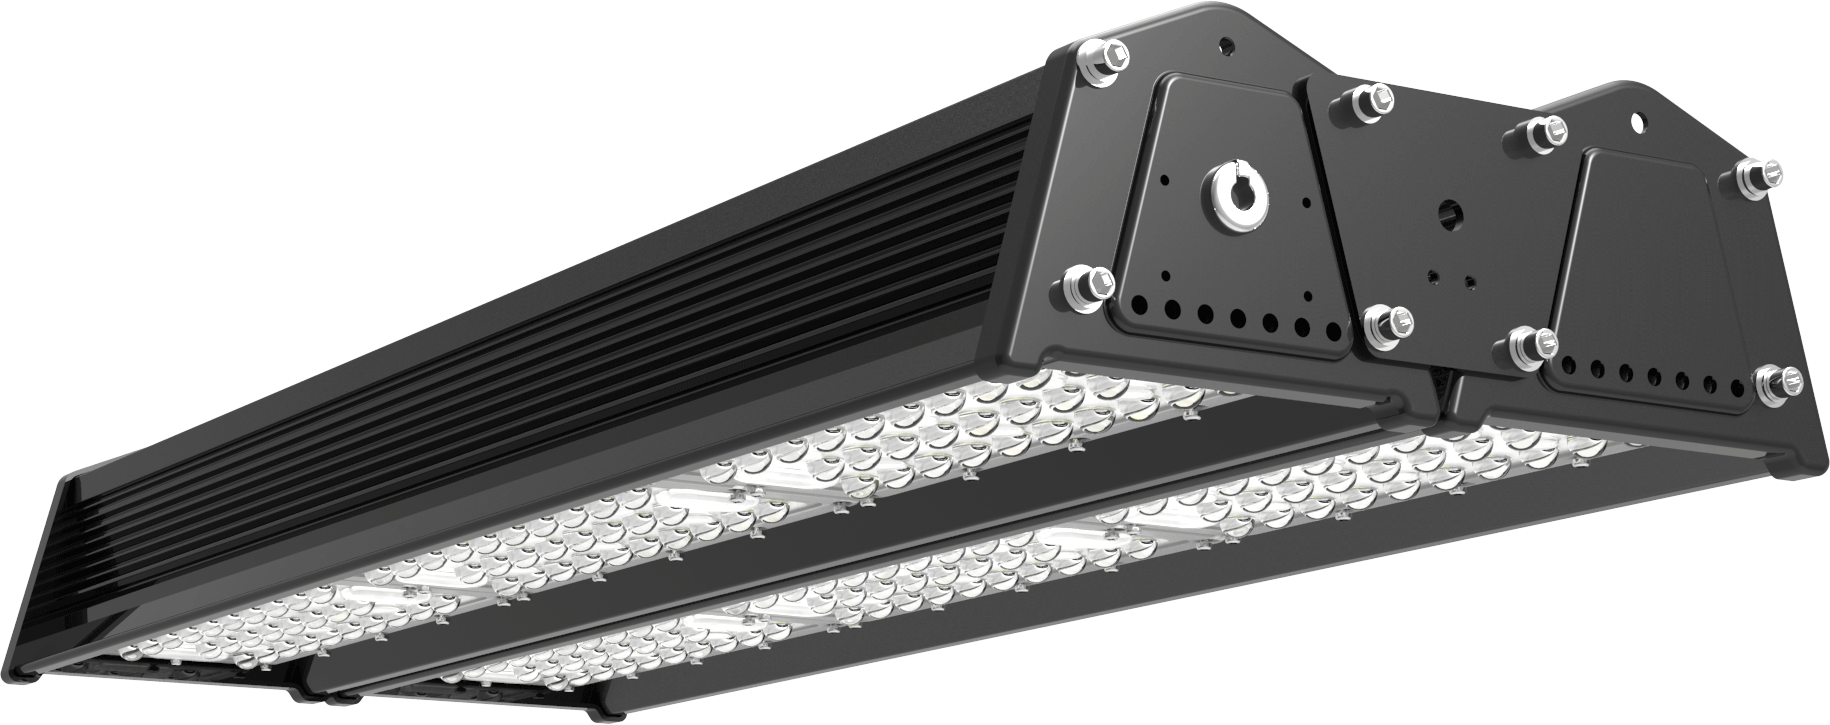
The Tauro Black high bay is the next evolution in LED high bays, with results of up to 40% more efficiency when compared to other LED high bays. Minimise your energy consumption and maximise your energy savings by eliminating waste light and hot spots, through the use of custom optics and industry leading efficacy of up to 165 lm/w.
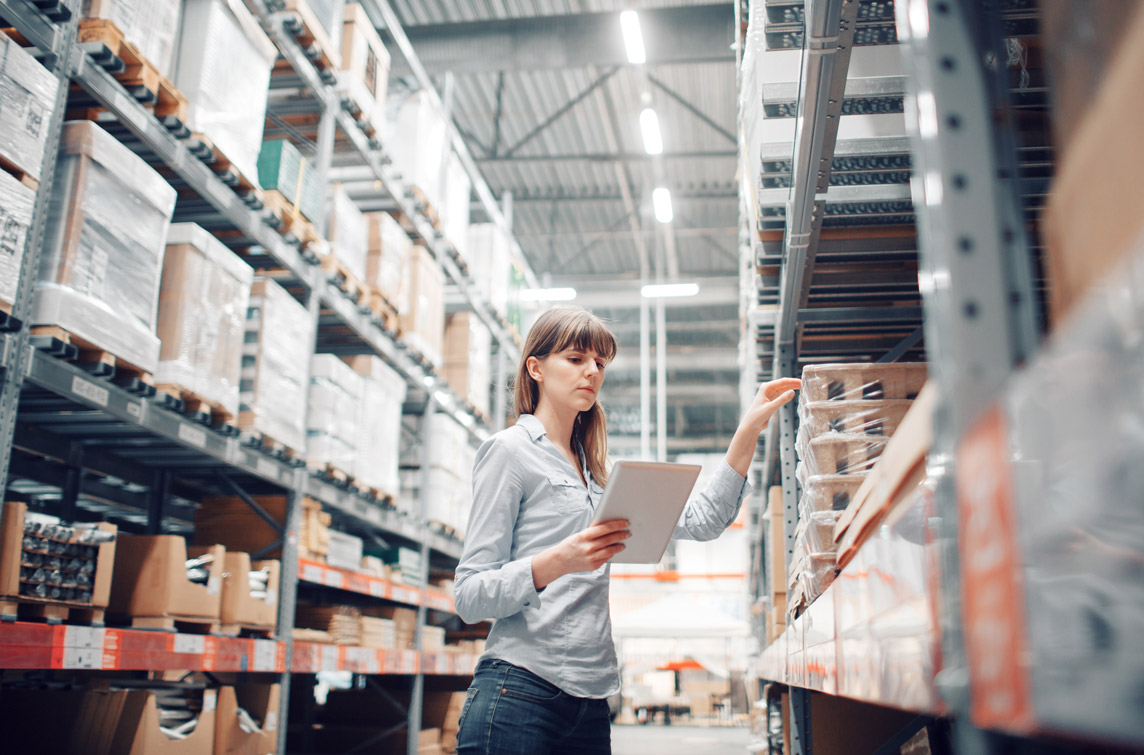
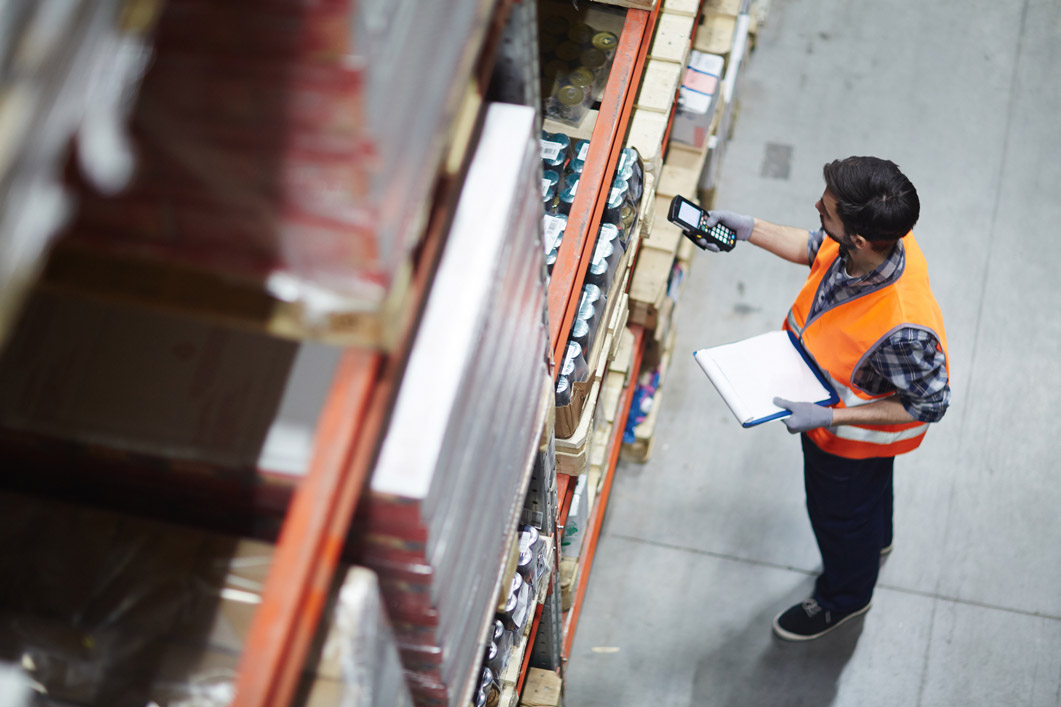
Customised aisle racking optics are transforming the warehouse environment. Vertical illumination improves pick accuracy and productivity by making it easier to read labels and retrieve stock. Achieve uniform horizontal lighting throughout the facility and create a safer workplace.
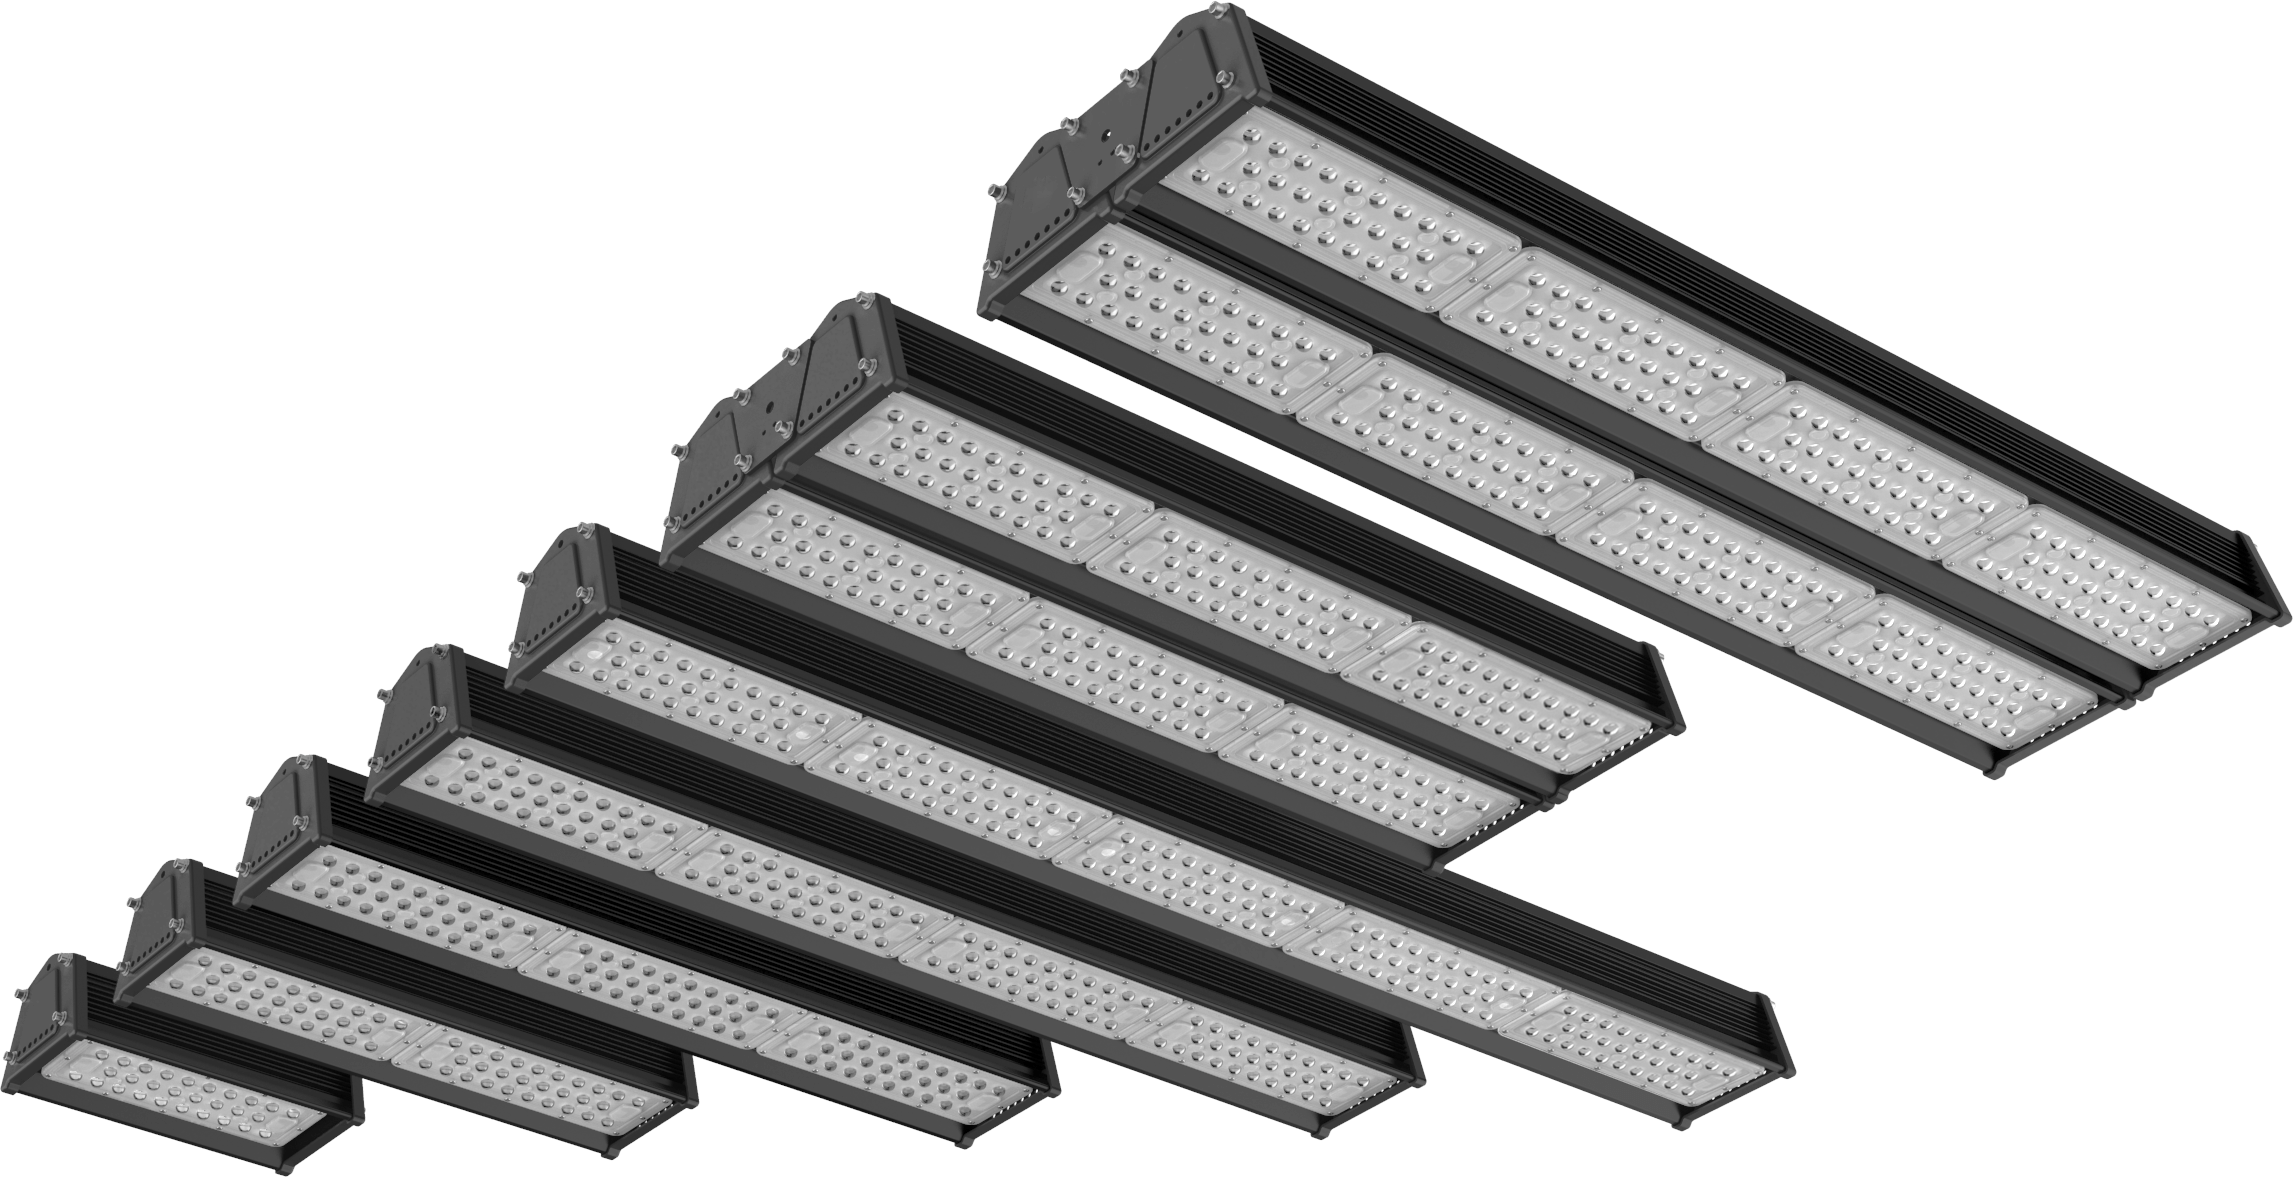
Within the Tauro Black range we have two models; the Tauro Black high bay, which comes in a wide range of sizes and operates well in temperatures up to +50°C and the ultra durable, high temperature rated NEW Tauro Black HT.
Which high bay do you need?
|
|
TAURO BLACK |
TAURO BLACK HT |
|
Durability |
Durable |
Ultra Durable |
|
Power |
30W-240W |
90W-240W |
|
Temperature range |
-30°C to +50°C |
-30°C to +60°C |
|
Warranty |
5 YR Warranty |
10 YR Warranty |
|
Driver |
Sosen |
Inventronics |
|
Lumen output |
4500 - 38,550 |
14,100 - 38,550 |
|
Luminaire efficacy: 151-165 lm/W |
✔ |
✔ |
|
Impact rating: IK10 |
✔ |
✔ |
|
|
SEE BELOW |
Product Downloads
Click the below links to download guides, datasheets and more.
- enLighten Tauro Black Datasheet (1321.2KB)
- Tauro Black Remote Control Instructions (472.5KB)
- enLighten Tauro Black HT Datasheet (1302.9KB)
- enLighten Tauro Black Linear High Bay Installation Instructions (1333.8KB)
Secure Zone Documents
Login to view the latest IES files, spacing guides, installation guides and frequently asked questions.
Login

Optional Features

Highlights
Highlights


Key Features
- Up to 40% more efficient when compared to standard LED highbays
- Industry leading efficacy of up to 165 lm/w using Nichia LEDs.
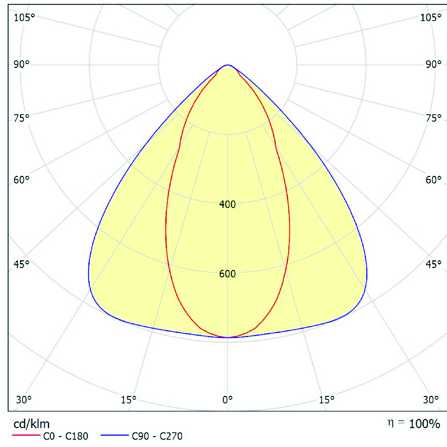
- Variety of optics available, symmetric and asymmetric
- Wide range of sizes 30W-240W for low to high ceilings.
- Optional smart controls with microwave motion sensor and daylight harvesting sensor
- DALI & 1-10V dimming optional
- Durable and robust with IP65 & IK10
- 5 year product warranty
- Hanging kits are included for easy mounting.
- VEU approved
- IPART approved
Applications
Technical Info
| OPTICAL | |
| Light Source | Nichia LEDs |
| Lumen output | 4500 – 38,550 lumens |
| CRI | Ra>70 standard; Ra>80 optional |
| CCT | 5000K standard, 4000K optional |
| Luminaire efficacy | 151-165 lm/W |
| Beam angle | Symmetrical & asymmetrical racking |
| ELECTRICAL | |
| Power Consumption | 30 - 240W |
| Operating frequency | 50 Hz |
| Operating voltage range | 220 - 240V AC |
| Power Factor | >0.9/240V AC |
| Driver | Sosen |
| ENVIRONMENTAL | |
| IP rating | IP65 |
| Impact rating | IK10 |
| Net Weight | 1.9, 3.4, 4.7, 5.7, 6.9, 8.5, 10.3 kg (+/- 0.3kg) |
| Ambient temperature rating | -30°C to +50°C |
| Material Composition (body) | Aluminum Alloy |
| Material Composition (lens) | Polycarbonate |
| Expected Lifespan | >130,000 hours at L70 |
SMART CONTROL SENSOR
The Tauro Black highbay has a smart control sensors for daylight harvesting and motion detection. The highbay sensor is an LED lighting control device that can detect motion and ambient light when mounted up to a maximum height of 12m. Gain up to 40% increase in energy savings using sensors.
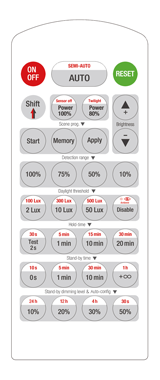 |
Design features:
Operating modes of the high bay sensor:
|
The smart control sensor can achieve up to 3-step dimming functions between high light output (100%), stand-by dimming (10-50%) and off. An integrated photo electric (PE) cell detects ambient light levels and will adjust the light output according to preset lux thresholds.
The intelligent lux level auto-commissioning function calibrates the target lux level automatically which simplifies the commissioning process.
Dimensions
| MODEL | LUMEN OUTPUT (lm) |
POWER RATED (W) |
SIZE LxWxH (mm) | WEIGHT (kg) |
| TB 30 | 4,500 | 30 | 280 x 137 x 102 | 1.9 |
| TB 60 | 9,300 | 60 | 486 x 137 x 102 | 3.4 |
| TB 90 | 14,100 | 90 | 718 x 137 x 102 | 4.7 |
| TB120 | 18,700 | 120 | 948 x 137 x 102 | 5.7 |
| TB 150 | 23,000 | 150 | 1178 x 137 x 102 | 6.9 |
| TB 180 | 27,700 | 180 | 718 x 275 x 102 | 8.5 |
| TB 240 | 37,100 | 240 | 950 x 299 x 102 | 10.3 |
OPTIC CODE 57 AR1, 57 AR2, 57 AR3, 57 S1, 57 S2 |
Product Review
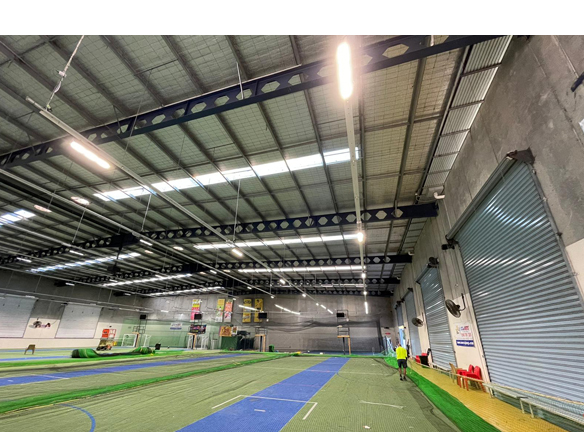
Danny Bouzas, Hills Indoor Sports + Batting
Ian Brunning, Globebusters
Peter Voigt, Voigties Volts
Danny Bouzas, Hills Indoor Sports + Batting
Batters up!
‘I am delighted at the results of the Tauro Black high bay retrofit. The staff and the customers have noticed a big difference in the lighting levels and are loving it. We went from 110 lux before the upgrade to 320 lux now.
With low glare lighting and better visibility, it is pushing the players to the next level and it is easier for umpires to do their job well.'
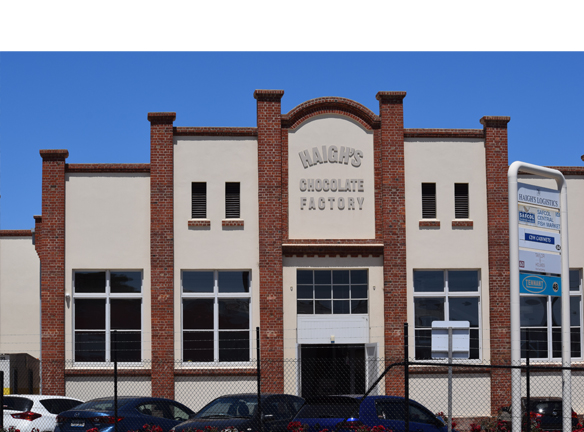
Ian Brunning, Globebusters
Haighs Chocolate Factory
High bay with industry leading efficacy of up to 165 lm/w
‘The Tauro Black lights were a pleasure to work with and so easy to install and they have an amazing light output. It was an excellent outcome for the customer.'
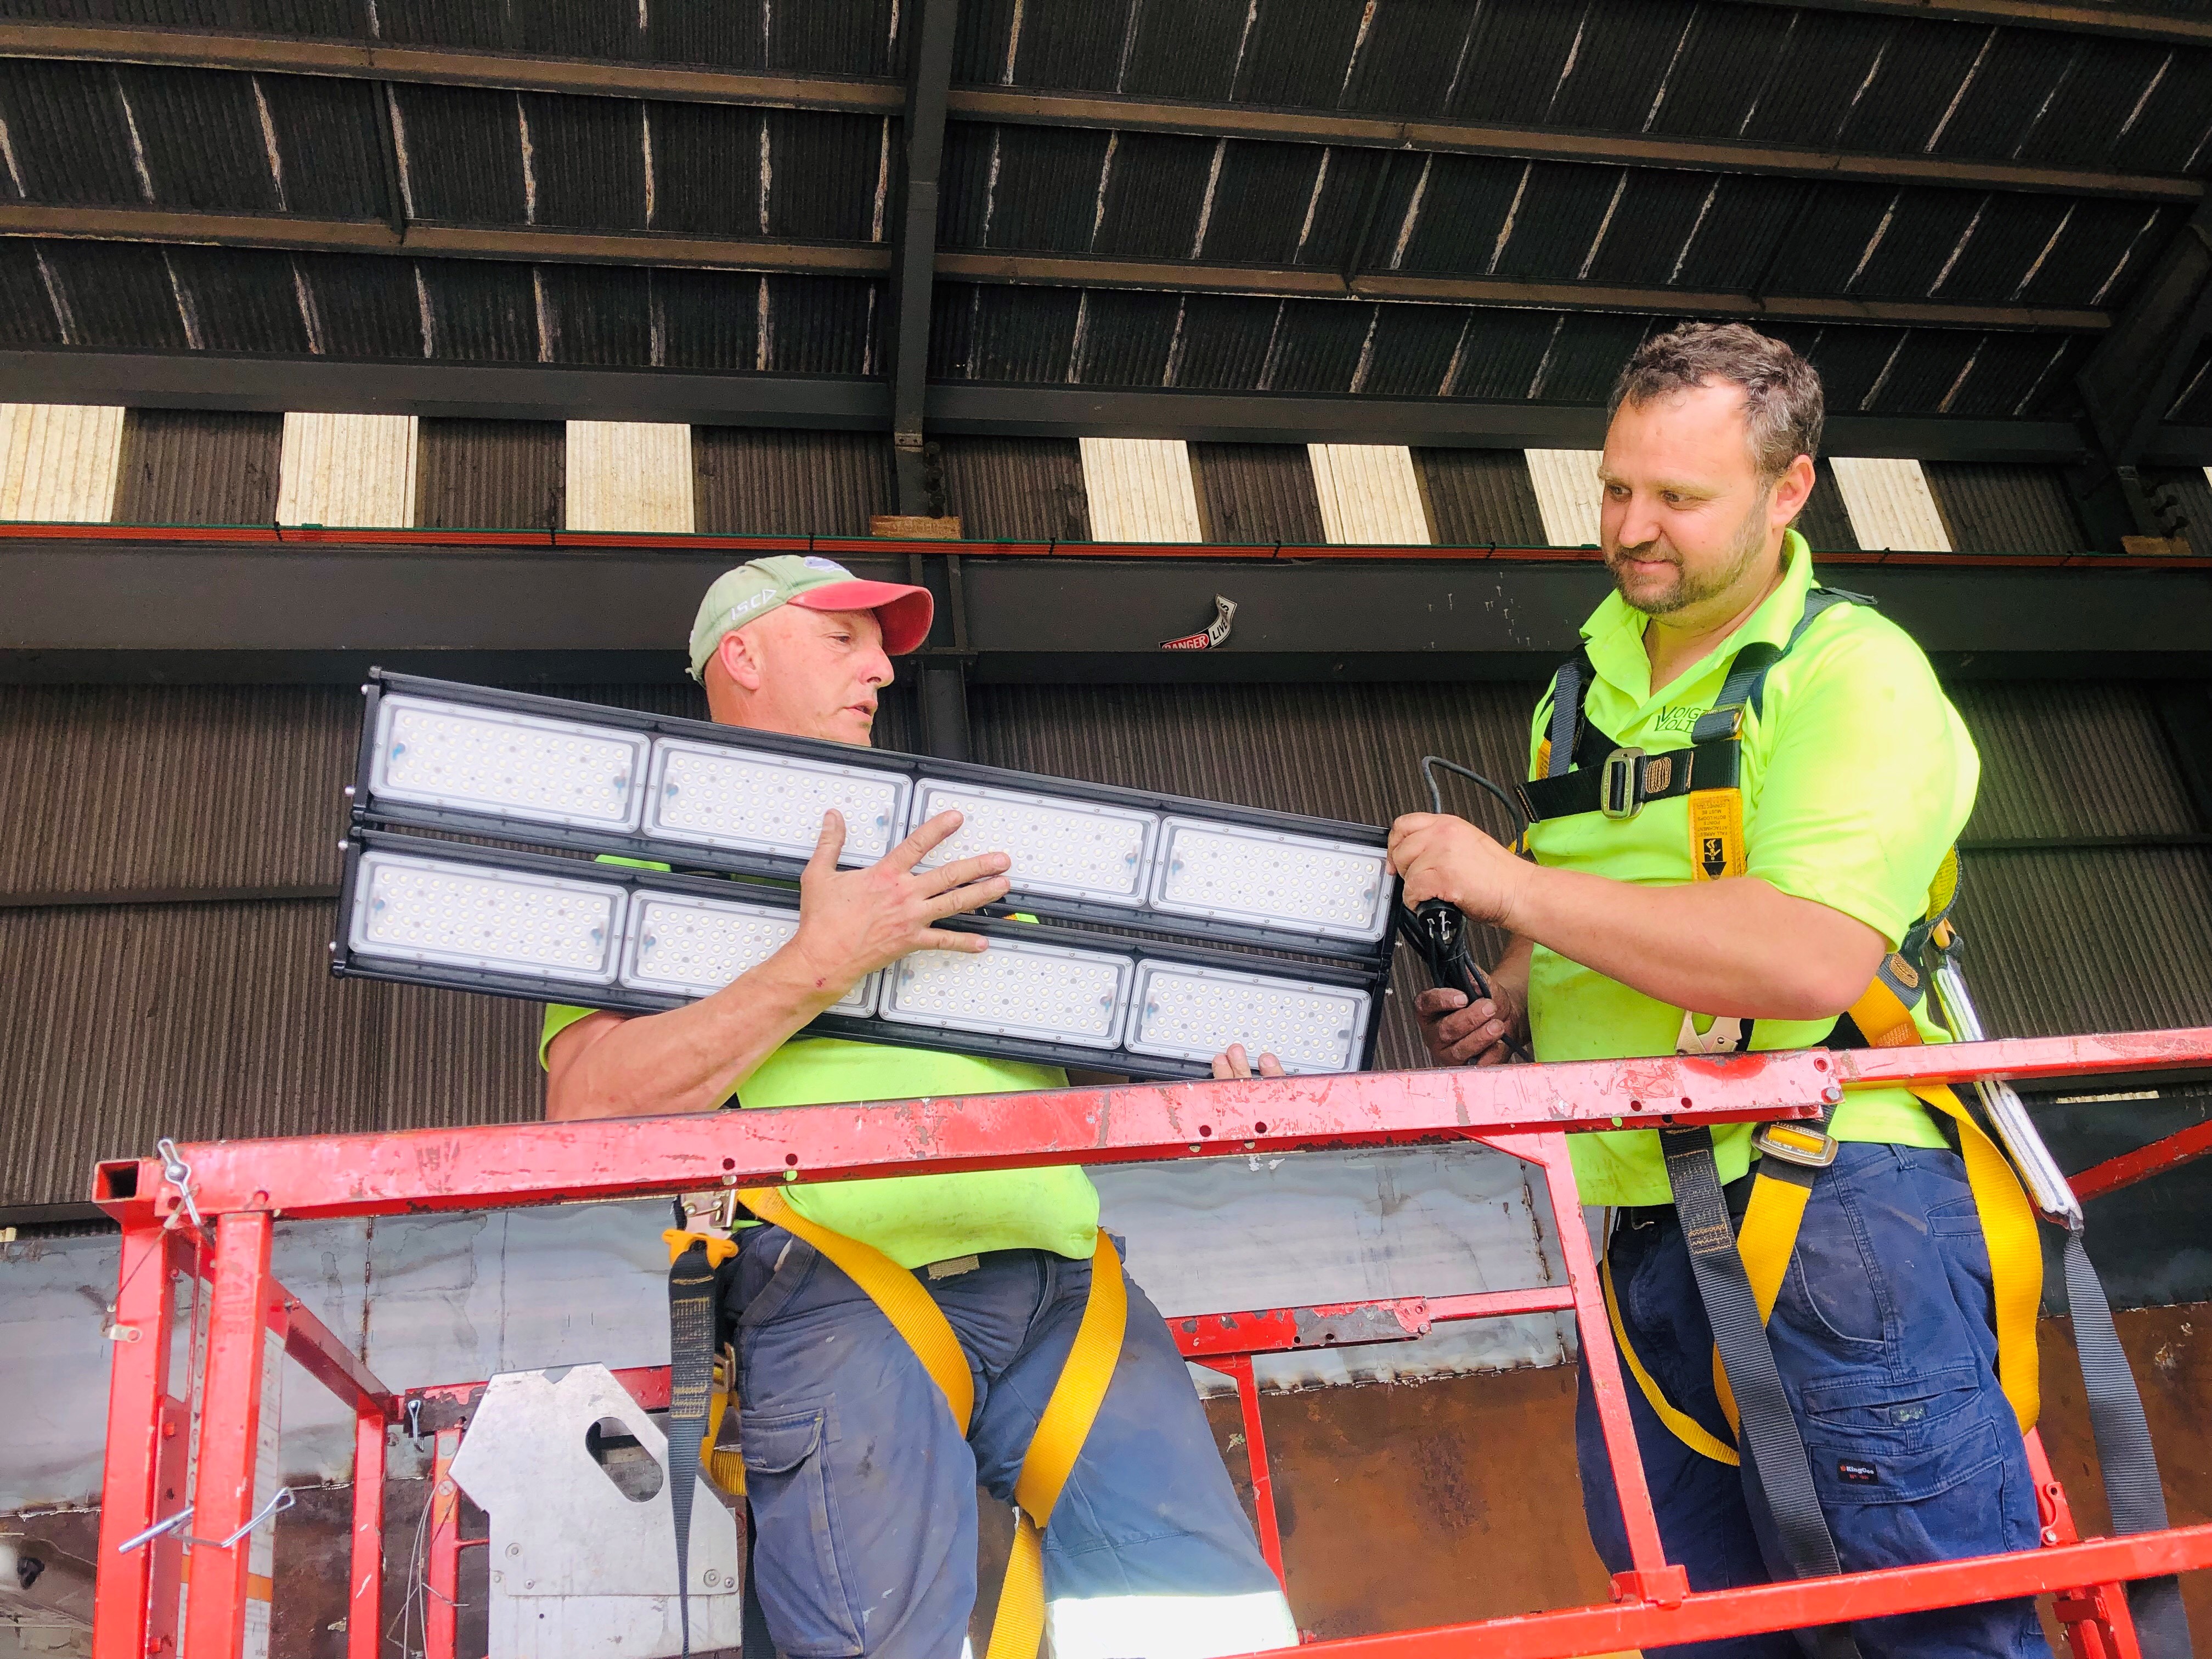
Peter Voigt, Voigties Volts
Polytrade Recycling
High efficacy LED warehouse
'The installation of the Tauro Black was so simple, it came with everything we needed. I used the single point mounting bracket and the stainless steel cables to hang the lights and it saved me hours of work.
The light quality from the Tauro Black was really impressive, there was a substantial difference seen around the machinery which was critical for the workers safety.'

Our Clients


Stay in the know with enLighten Mail
Our passion is delivering a lighting project where our clients go 'wow'.
Exceeding their expectations and delivering solutions that they love.


Contact Us
3/12 Frederick St
St Leonards,
NSW 2065
Australia
Contact Us
Phone: +61 2 8084 6971
For all orders please call us or email sales@enlighten.com.au
x
Help us tailor your experience
We’d love to better understand who’s visiting. This isn’t data collection, just a quick way to help us design a better site for you.
